Let's Shape The Future Of Your Investments!
Natoque iaculis cursus augue urna commodo aptent morbi tortor porttitor quis ornare.


A small poster on my desk caught the morning light, soft grain, lovely color, but the edges felt a touch tired when I leaned in. That’s the moment an AI image upscaler earns its place: not by inventing something new, but by gently revealing what’s already there, with more clarity and care. In this guide, I share what I’ve learned from official documentation, public demos, and my own hands-on use across 2024 into early 2025, how modern AI upscalers behave visually, where they shine, where they hesitate, and how to use them to make artwork feel complete, not over-processed.
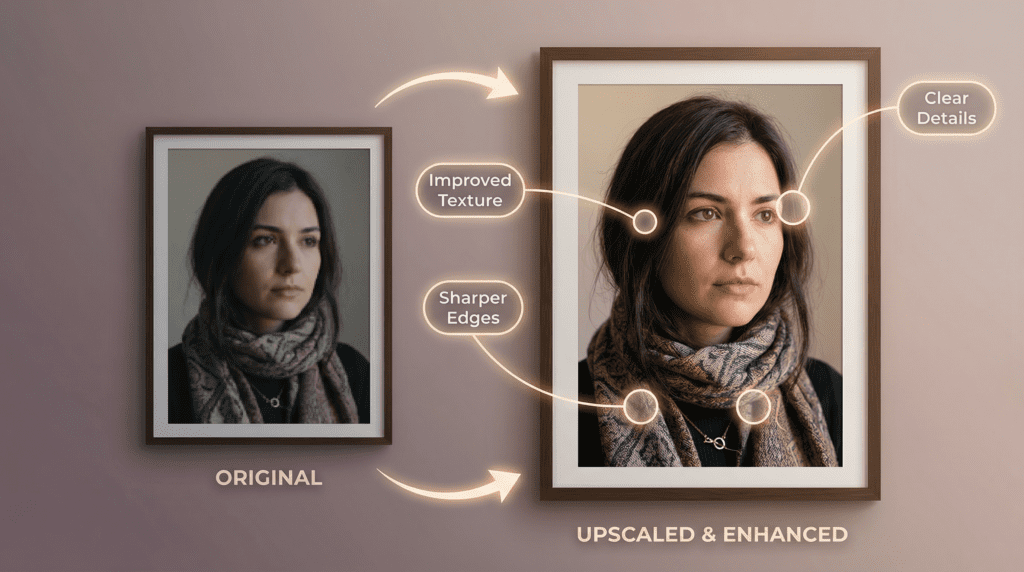
A quiet shift happens when you upscale a small image: edges stop whispering and start speaking. An AI image upscaler increases resolution while predicting plausible detail, textures, edges, and subtle transitions, guided by patterns the model has learned from enormous datasets.
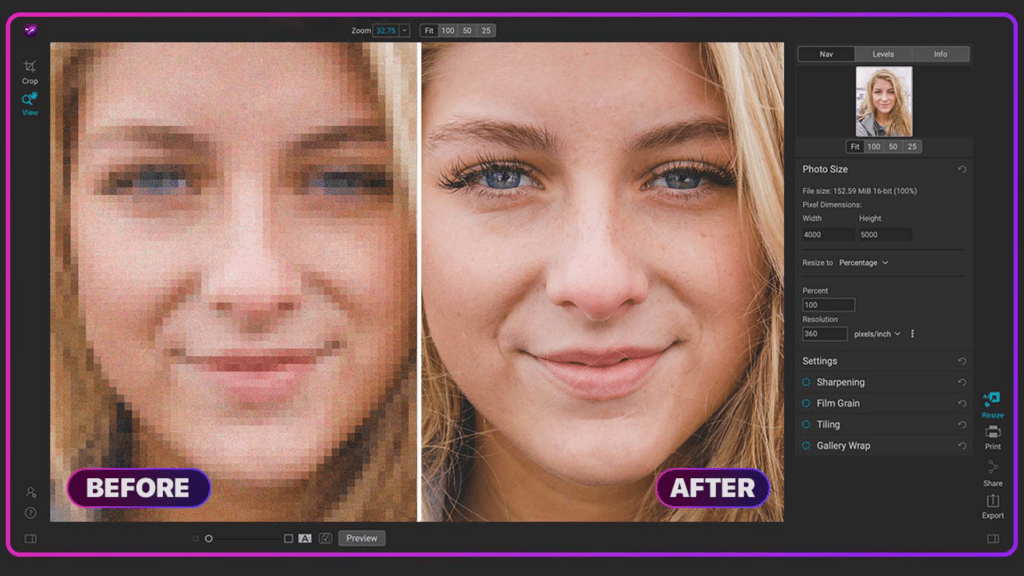
In practice, I see this as improved micro-contrast around hair strands, cleaner typography edges, and skin textures that feel less smudged. Most modern tools (from Adobe’s Super Resolution to Topaz Gigapixel AI and open-source ESRGAN-based apps like Upscayl) try to respect the scene’s intent, rather than sharpening everything indiscriminately. Good upscalers keep light direction consistent, preserve tonal gradients, and avoid the plastic gloss that older methods introduced.
Field notes: when the source is very compressed or tiny, some tools invent texture that looks a little too eager, fabric that turns sandy, foliage that becomes crunchy. I watch faces closely: if pores and lashes pop too evenly, it often reads as synthetic.
Insight: Use AI upscaling as a restoration, not a facelift. When it’s done gently, the image breathes. When it’s pushed too hard, the illusion cracks.
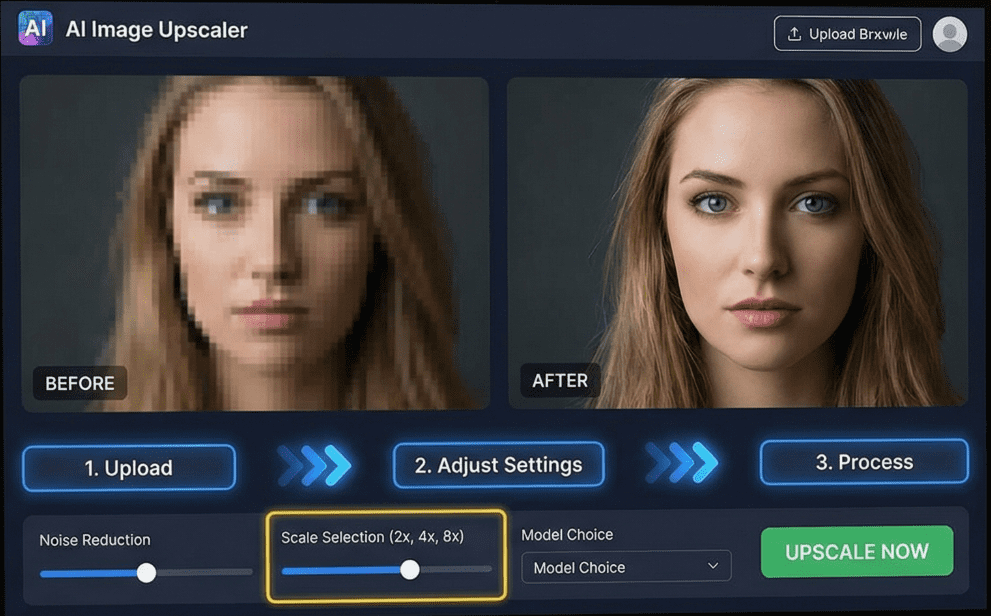
Takeaway: Start with moderate scale factors (2×) and evaluate. Let the image tell you how far it wants to go.

When I upscale illustrations or digital paintings, I’m listening for line confidence. Clean line art should feel decisive at higher resolution: painterly work should keep its brush softness without turning waxy.
From official tool notes and public examples, I see consistent strengths: line art improves dramatically with models tuned for edges: anime or flat-color graphics (waifu2x heritage) maintain crisp silhouettes: and high-quality photos keep their atmosphere when the tool respects noise and grain.
Field notes: watercolor textures are delicate. Some upscalers over-dry the paper texture: others smear it. I’ll often blend the upscaled result with a low-opacity original to re-introduce the paper’s breath.
Insight: The best AI image upscaler for artwork depends on the style, line-heavy work loves edge-aware models: soft, painterly pieces prefer conservative enhancement.
Takeaway: Match the tool to the art. If your piece relies on texture, choose a conservative model and preserve grain.
I think about where the image will live. Social posts need clarity at small sizes: websites need quick load times: print wants believable texture and stable edges.
From observing public test galleries and my projects:
Takeaway: Let the output medium define the scale and finish. Web wants speed and crispness: print wants tonal honesty.
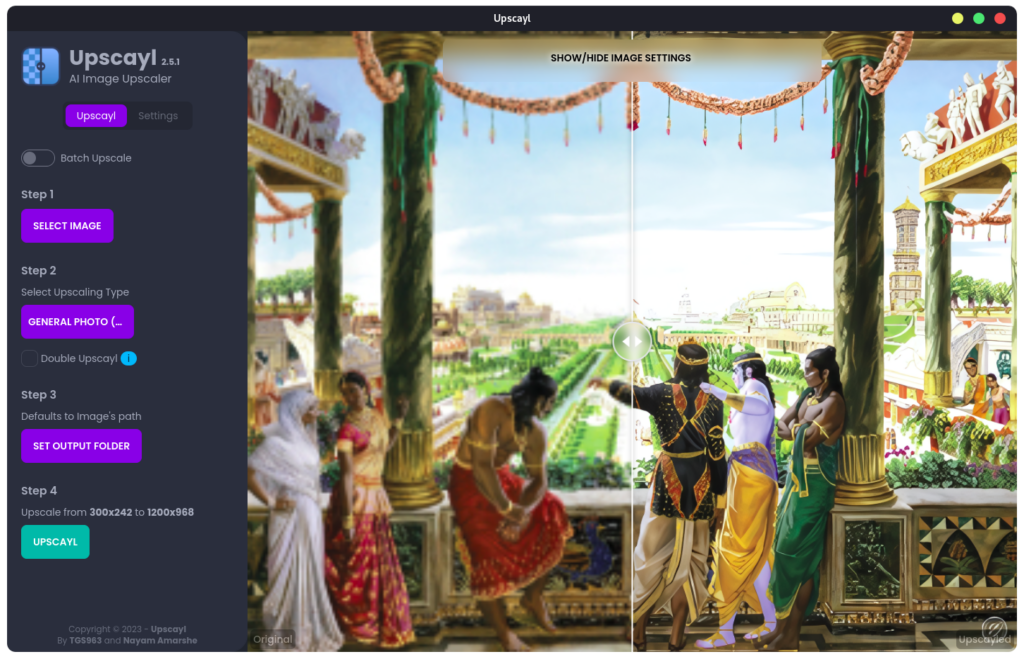
In free and open options, I’ve had steady results with Upscayl (open-source, ESRGAN-based). Its models tend to favor clear edges and predictable detail with minimal artifacts when used conservatively. Online tools like Bigjpg and the classic waifu2x-style approaches remain helpful for anime, line art, and flat graphics, keeping halos low around inked contours.
Field notes: Free web upscalers can compress outputs or limit max size. I also notice occasional haloing around high-contrast edges and minor color shifts in deep blues. Upscayl’s strength is consistency if you choose the right model per image type.
Insight: For line art, anime, or logos, free tools can be excellent. For complex portraits or product photos, I usually step up to a pro tool to manage texture realism.
Takeaway: Start free if your art style is bold-lined or flat-color. For lifelike surfaces, plan to graduate to a paid solution.
When detail fidelity and client trust are non-negotiable, I reach for:
I also keep an eye on Clipdrop’s upscaler (by Stability), which is handy for fast web outputs, and professional online platforms like Let’s Enhance for batch needs.
Field notes: Gigapixel can over-define skin if you pick the wrong mode. Adobe’s Super Resolution is restrained, which I like, though it may feel too cautious for extremely small sources. Pixelmator often keeps a lovely filmic mood.
Insight: Choose based on your subject. Portraits and lifestyle work benefit from Adobe’s restraint or Pixelmator’s softness: product and wildlife often shine with Gigapixel’s bolder reconstruction.
Takeaway: Keep two tools in your kit: one conservative, one assertive. Switch depending on the image’s personality.
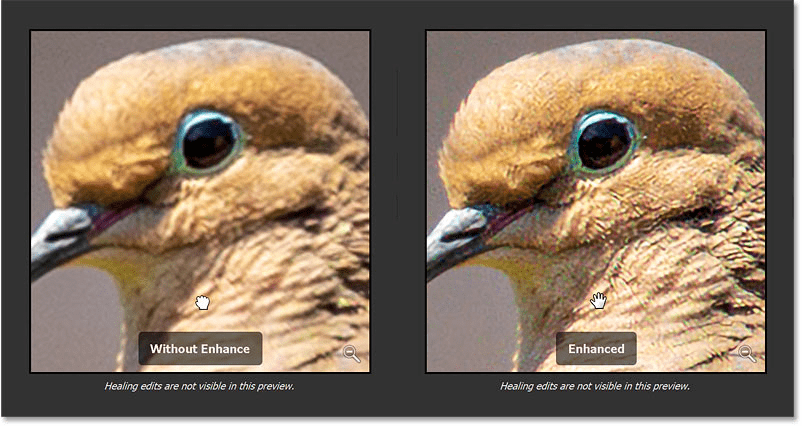
Quality: In my viewing of side-by-side samples across 2024–2025, Adobe and Pixelmator preserve tonality and skin realism gracefully. Topaz leans into micro-contrast and perceived detail. Upscayl is dependable when matched to the right model. Web tools vary, convenient, but watch compression.
Speed: Adobe’s Super Resolution is quick inside a RAW-to-edit flow. Topaz has improved but can take longer at high scales. Upscayl’s speed depends on your GPU. Web tools are fast but upload-bound.
Customization: Topaz offers the most dials (modes, noise, blur). Adobe is simpler, fewer choices, safer defaults. Upscayl provides model selection: power users can swap models. Online tools typically offer minimal control.
Takeaway: If you want “set it and trust it,” Adobe’s path is calm. If you want surgical control, Topaz is your canvas.
I like to clear the stage before the performance. That means:
Field notes: Over-sharpening before upscaling creates crunchy edges that only get worse. Keep pre-processing gentle.
Takeaway: Feed the model clean, balanced images: it will repay you with calmer detail.
Photoshop/Lightroom (Super Resolution):
Topaz Gigapixel AI:
Upscayl:
Takeaway: Use previews at 100% and 200%. The truth lives there, not in the fit-to-screen view.
Takeaway: Think like a printmaker, layer gently, check often, and stop when it feels right.
I look for integrity, the image should feel like itself, just clearer. Work non-destructively with copies or smart objects. Keep color management consistent (sRGB for web, CMYK conversions for print handled at the end).
Field notes: Aggressive clarity sliders after upscaling can fray edges and misalign fine patterns (herringbone, mesh). Less is more.
Takeaway: Protect tone and color first. Detail is only beautiful when tone is believable.
Artifacts announce themselves at the edges: halos, ringing, double lines. Distortion appears in hairlines, eyelashes, and serif typography. If you see repeating textures or shimmering patterns, back off.
What helps:
Takeaway: Artifacts are easier to prevent than fix. Adjust early, commit late.
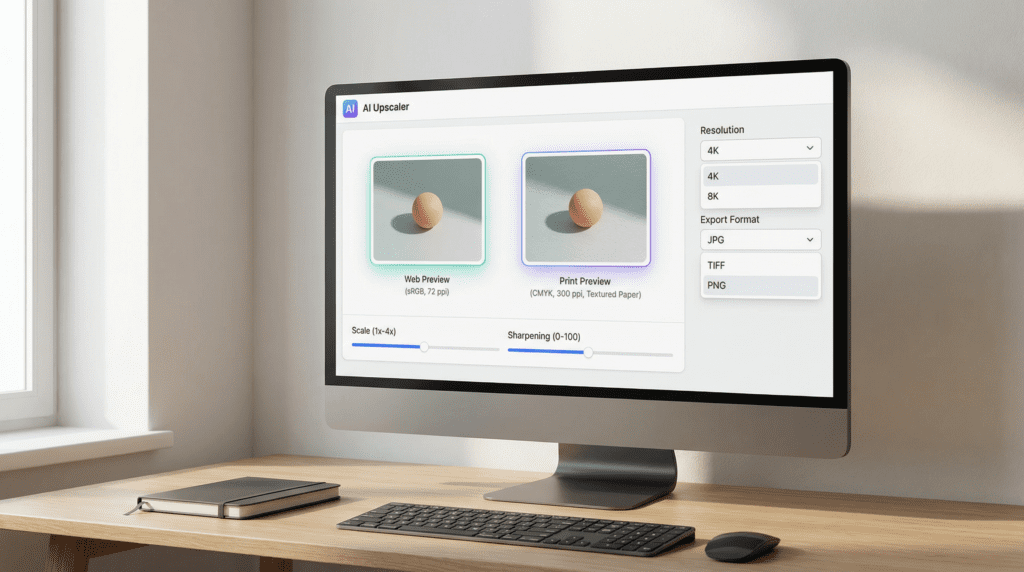
For web: export at the display size you need, in sRGB, JPEG at ~80–90% quality or WEBP/AVIF if supported. For print: calculate final inches at 300 ppi (posters can be lower if viewed from distance), save as TIFF or high-quality PDF.
Field notes: Oversizing “just in case” invites softness and larger files. Be precise.
Takeaway: Let viewing distance and medium set the numbers: don’t let habit bloat your files.
Under studio lights, prints tell the truth. I aim for exact final dimensions at 300 ppi, soft-proof the paper profile, and keep sharpening localized (masking to edges, not skin or sky). For illustrations, I verify line weight after upscaling, thin strokes can feel too sharp: a subtle Gaussian blur at 2–3% can restore the hand-drawn feel.
Field notes: Text against textured backgrounds can pick up halos during RIP. I’ll often set text on a clean layer or re-typeset post-upscale.
Takeaway: Print loves restraint. Calibrate to paper and ink, not just the screen.
On phones, images live fast. I upscale modestly (often 1.5–2×), preserve natural grain, and export to the exact component size (hero, thumbnail, story). For social, slightly higher midtone contrast reads better without making skin look brittle.
Field notes: Some platforms recompress aggressively. If your image has gentle gradients, consider PNG or high-quality WEBP to protect them.
Takeaway: Clarity over sheer pixels. Optimize for how and where the image appears.
Sometimes I pair upscaling with:
I avoid stacking too many strong effects. The image starts to feel rehearsed rather than lived-in.
Takeaway: Treat enhancements like seasoning, measured, purposeful, and always in service of the original mood.
Start improving your images using the best upscaling tools today!