Let's Shape The Future Of Your Investments!
Natoque iaculis cursus augue urna commodo aptent morbi tortor porttitor quis ornare.

There’s a quiet moment that happens before every good video: the pause between words on a page and images in motion.
When I work with script to video tools, I’m always listening for that moment. I’m asking: Does this tool understand the feeling behind the lines, or is it just decorating words with moving pictures?
In this guide, I’ll walk you through how script-to-video really works, how it differs from basic text-to-video, which tools feel emotionally reliable right now, and how to format your scripts so the AI doesn’t lose your story’s heartbeat. I’ll keep things clear and practical, but always grounded in what matters most: light, pacing, expression, and emotional coherence.
When I say script-to-video, I don’t just mean “type a sentence and get a clip.” Script-to-video is a workflow where you give an AI a structured script, with scenes, dialogue, and sometimes camera directions, and it tries to turn that into a sequence of shots that feels like a real video.
Instead of a single floating idea, the AI receives:
The goal isn’t only to generate pretty frames. It’s to create a visually and emotionally connected sequence where:
A good script-to-video result feels like the AI has quietly read your script, taken a breath, and then tried to honor its emotional temperature, rather than just showing off what it can render.
People often mix script-to-video with text-to-video, but they behave very differently.
Text-to-video usually means:
Visually, text-to-video can look impressive, but it often feels like a single visual mood rather than a narrative. The motion may be pretty, yet emotionally shallow, like a music video loop with no inner change.
Script-to-video is closer to how a director reads pages. The AI tries to:
Where text-to-video is about “a moment”, script-to-video aims for “a sequence of moments”.
In practice, this means:
For you as a creator, script-to-video matters when you want your video to feel like it has chapters, beats, and emotional shifts, not just a single aesthetic loop.
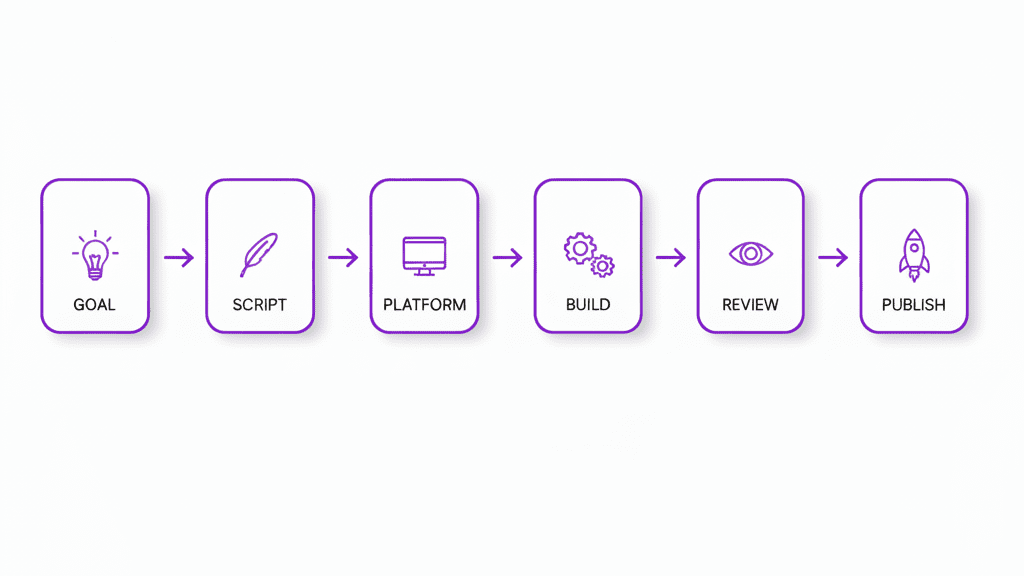
When I test script-to-video tools, I see the same quiet structure underneath most of them. It isn’t usually visible in the interface, but the process feels like this.
The first thing the AI needs is clarity. If the script is a wall of text, the results often look confused: characters drift, the background keeps changing, and the pacing feels rushed.
So I start by gently structuring the script:
SCENE 1 – INTERIOR – BEDROOM – MORNINGEMMA: I don't think I'm ready for this.She sits on the edge of the bed, light from the window wrapping softly around her.When I do this, I notice the AI’s visuals breathe better. The cuts become more intentional. The light feels less chaotic. There’s less visual “panic” in the frame.
Some tools will automatically split scenes into shots: sometimes I have to guide them.
A shot list is just a simple breakdown of how we see each moment, for example:
Even if the platform doesn’t show you a formal shot list, adding hints inside your script like “close-up on her hands” or “wide shot of the empty hallway” often leads to more emotionally tuned results.
When the AI has this gentle guidance, cuts feel less random. You get fewer sudden angle changes that feel like the camera is anxious.
Next, the AI silently decides: What should this line look like?
In this phase, the tool is matching:
When this step goes well, the video feels grounded:
When it goes poorly, I see things like:
That’s usually a sign the tool needs a simpler, clearer script, or fewer characters.
This is the part everyone focuses on, but I see it as just one step.
Here, the tool turns all those instructions into actual motion. What I’m watching for is not just sharpness, but emotional stability:
A good script-to-video output here feels like the camera has confidence. Movements are steady: it doesn’t wobble unless it’s supposed to. The model doesn’t become shy in darker scenes or overexposed in bright ones.
When it struggles, fast motion becomes smeared, fingers twitch, or hair jitters at the edges. It’s not a failure, just a sign to slow your scenes down and favor calmer actions.
Most tools give you either:
This final step is where your eye matters most.
In post-edit, I:
Even a quick pass in a basic editor can turn “interesting AI output” into something that feels like a real, intentional piece of video storytelling.
There are many tools emerging, but a few have a clear visual personality. Here’s how I experience them, through a cinematographer’s eyes rather than a technician’s.
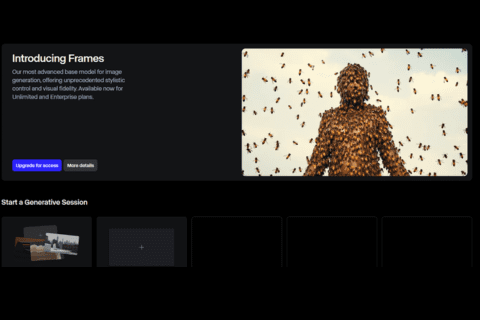
When I feed a structured script into Runway’s newer generation, the results often feel deliberate.
Visually, I notice:
It can struggle a little with very fast action or chaotic crowds, but for YouTube explainers, short narrative pieces, and social content where you want a clear, controlled look, it behaves like a careful cinematographer.
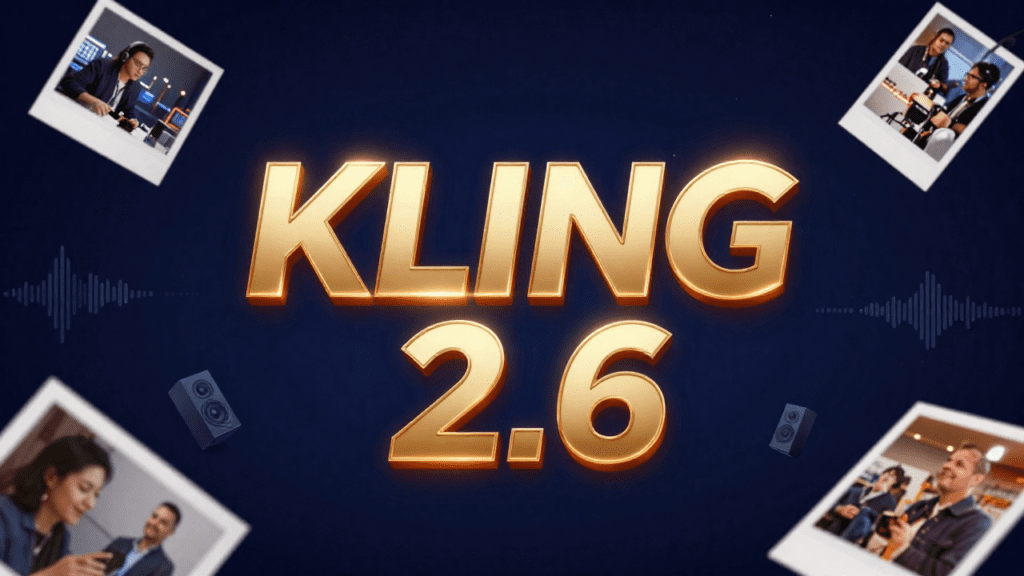
Kling‘s more recent builds tend to feel more comfortable with longer scripts and extended motion.
What I see visually:
If you’re working on talking-head storytelling, educational content, or longer narrative shorts, Kling 2.6 can offer a sense of story persistence. It still struggles a bit with subtle facial expression shifts over many scenes, but with gentle pacing, it holds together.

From the previews and early tests I’ve seen, Sora 2 leans toward cinematic richness.
The frames often have:
Where it can be fragile is in fine detail under stress: very busy scenes, rapid camera swoops, or complex hand interactions. It tries hard, but sometimes it lacks emotional subtlety in the micro-expressions if too much is happening at once.
For cinematic openings, short mood pieces, brand intros, or poetic storytelling, Sora 2 can feel closest to traditional filmmaking aesthetics.
The way you write your script shapes how the AI sees your world. These three formats help it feel less confused and more visually confident.
Keep dialogue simple and clearly labeled:
EMMA: I don't think I'm ready for this.

JAMES: You don't have to be. Just take the first step.
Why it helps visually:
Avoid stacking multiple speakers in one block of text. That’s when I see eyes hesitate or lip-sync drift.
Give each scene a brief, visual description:
SCENE 1 – INTERIOR – BEDROOM – MORNING

Soft light from a single window. Emma sits at the edge of her bed, the room quiet and slightly messy.
Use sensory hints the AI can translate into visuals:
You don’t need long paragraphs. Two or three grounded lines per scene are enough. Too many adjectives can actually make the visuals feel uncertain.
Adding light camera cues can gently guide composition:
CLOSE-UP on Emma's hands gripping the bedsheet.

WIDE SHOT of the empty hallway outside her door.

SLOW PUSH-IN on Emma as she finally stands up.
These hints help the AI:
Used sparingly, camera directions bring an emotional cadence to the final video, like breath in and breath out.
Here are some gentle starting points you can adapt. Replace the brackets with your own details.
“Convert this script to a short cinematic video.
Style: soft natural light, gentle contrast, realistic skin texture, stable character identity.
Focus on: emotionally clear facial expressions, smooth cuts, steady camera.
Keep the pacing calm but engaging.
Script:
[PASTE YOUR SCRIPT HERE]
“
“Turn this script into a vertical story video.
Keep one main character consistent. Use close-ups and medium shots.
Style: warm color palette, soft light, minimal background distractions.
Make the motion stable and avoid fast chaotic movements.
Script:
[PASTE YOUR SCRIPT HERE]
“
“Convert this script into a video with a mix of talking-head style shots and simple illustrative B-roll.
Style: clean, bright, natural lighting, soft shadows, clear composition.
Use gentle camera motion and clear scene changes.
Prioritize readability of text or objects shown.
Script:
[PASTE YOUR SCRIPT HERE]
“
You can always add small emotional notes like “the mood is hopeful and calm” or “the atmosphere is quiet and introspective” to help the AI choose the right visual temperature.
When script-to-video tools misbehave, they rarely say why. I read the problems through the images themselves.
Problem: Pacing feels rushed or chaotic
Problem: Cuts feel random
Problem: Character looks different between shots
Problem: Background feels like it’s “breathing” or melting
Often, calming the script calms the visuals. When the text is clear and unhurried, the images follow.
Yes, many tools can, but I don’t fully rely on them. When the AI guesses scene breaks, it sometimes cuts in emotionally odd places. I prefer to mark scenes myself with clear headings so the pacing feels more intentional.
A simple mix of scene headings, short visual descriptions, and cleanly labeled dialogue works best. You don’t need complex formatting, just enough structure so the AI knows who is speaking, where we are, and what the emotional moment looks like.
For most current tools, generating a first pass from a 5-page script can take anywhere from a few minutes to around half an hour, depending on resolution and length. I always add extra time for gentle post-editing, trimming odd frames, and adjusting color so the whole piece shares one consistent emotional atmosphere.
If you treat script-to-video as a quiet collaboration instead of a magic button, it becomes a surprisingly tender assistant. Let the tools handle the first draft of your visuals, but keep your eye on the light, the rhythm, and the small emotional pauses in the frame, that’s where your story really lives.